How to Claim a Listing
Claiming a listing is a simple process that allows you to manage and update your company’s information. Follow these quick steps to manage your listing.
1. Find Your Listing
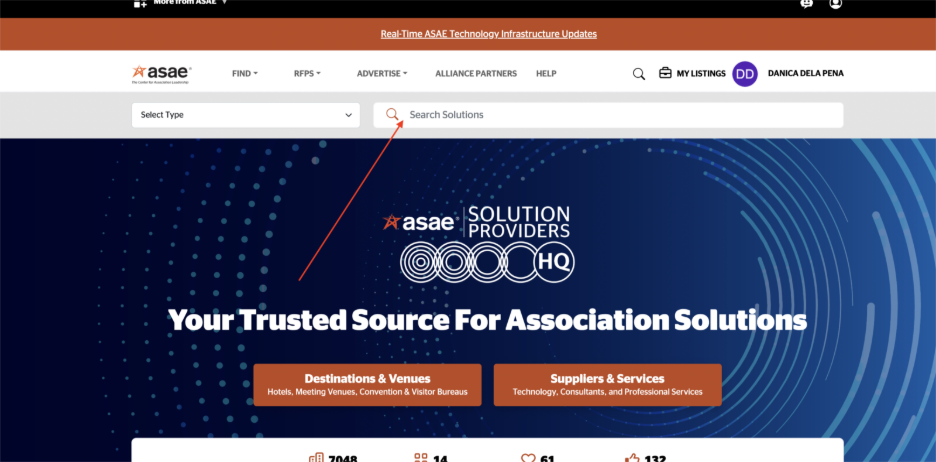
Use the search bar to find your business listing by name. Select your listing card to view its full details.
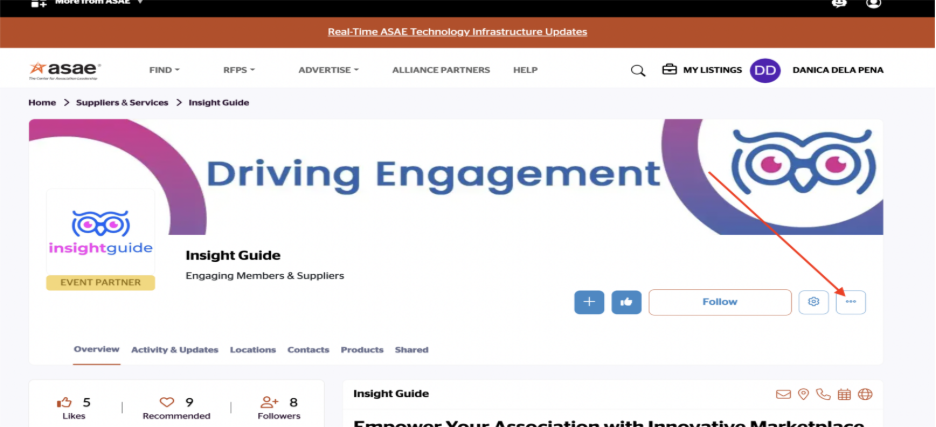
2. Find the Claim Your Listing Menu
On your listing page, look for the three-dot menu icon. Click on this menu to reveal a dropdown.
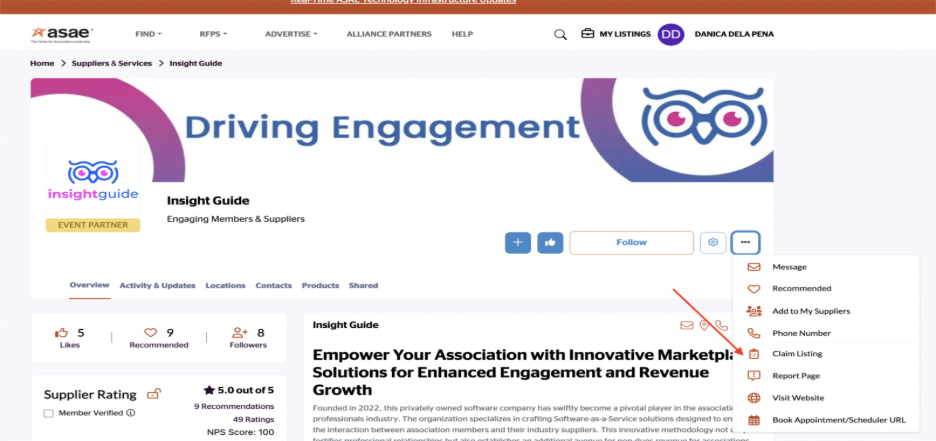
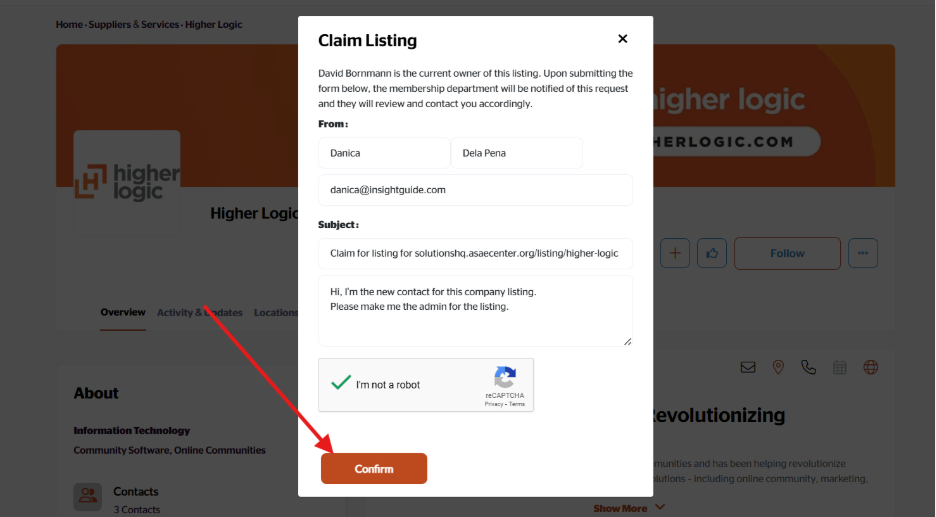
3. Claim Your Listing
From the dropdown, select Claim Listing. A confirmation pop-up will appear informing you that you will become the listing contact.
4. Confirm Your Claim
In the pop-up window, Confirm to complete the claim process.
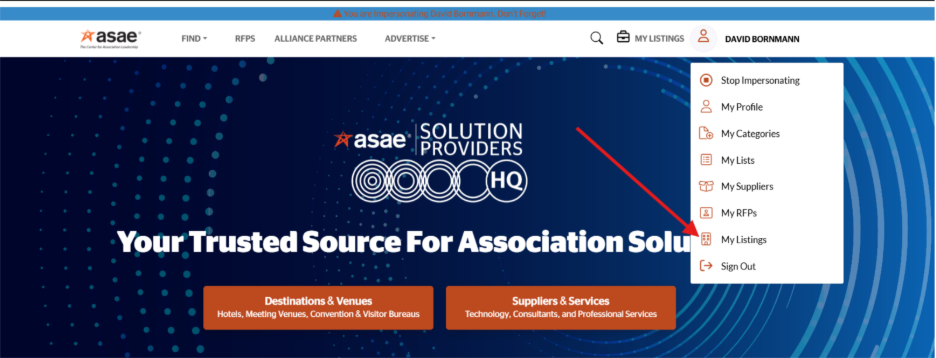
5. View Your Claimed Listings
To manage your claimed listing, click on your profile icon at the top right corner of the page. From the dropdown, select My Listings to view and manage all listings you’ve claimed.
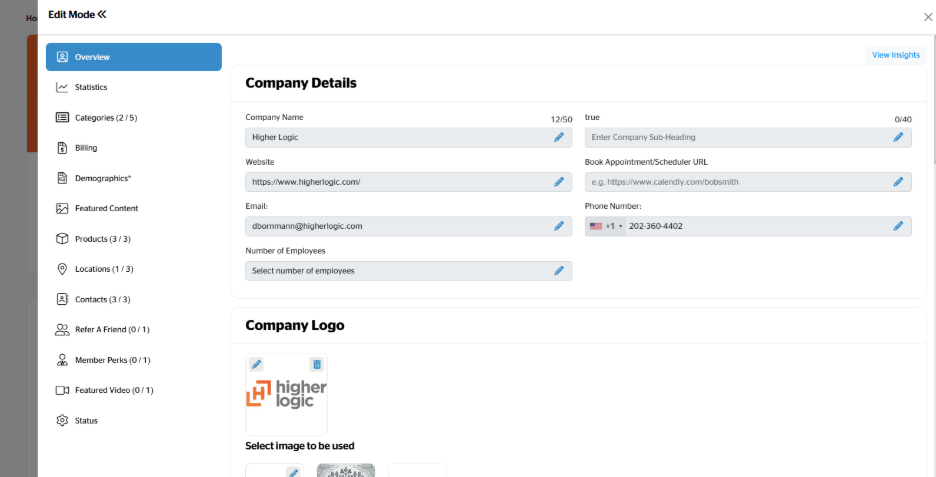
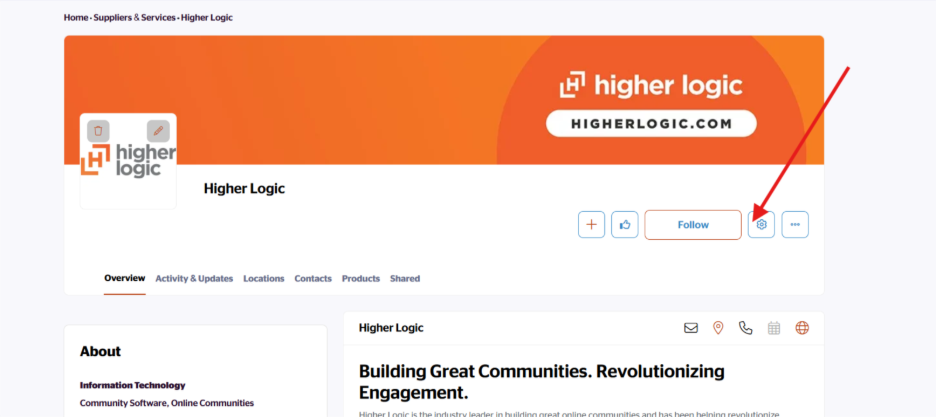
6. Edit and Manage Your Listing
To edit, manage your subscription, view insights, and all the details of your listing, select the gear icon on your listing page.
Managing your listing includes:
Overview
Edit your company’s profile information, including the logo, text description, cover image, social media, main contact, location, etc.
Statistics
View your listing quality score and get tips on how to improve your score for engagement and visibility.
Categories
Categories help users find your company via the category search. RFPs are also disseminated to respective categories. The more categories you have, the more likely users are to find your company and the more RFPs you are likely to receive.
Billing
View and manage your listing’s subscription plan. The higher the plan, the more benefits you receive.
Featured Content
If your plan allows you content credits, you are able to post content in the form of articles, case studies, event or event recordings, white papers, press releases, or research surveys. Publishing content allows added visibility to your listing and generates leads directly to you for all downloads. Though content can be added at any time, there are 20 days between when content can be published.
Locations
Determine your listing headquarters and drag and drop active locations.
Contacts
Allow users to contact you directly via email, phone, scheduler or location. Create new or drag and drop to determine the list of contacts that display on your listing.
Member Perks
Offer exclusive perks to prospective buyers. Those who access your perks must agree to share their contact information with you. Set your own terms and conditions and the expiration date of the specific perk. From this area, you can also view the History of anyone who has taken advantage of the perk.
Refer-a-Friend
Allow existing users to invite peers or colleagues to get to know your company by offering incentives like discounts, credits, or rewards for both the referrer and the new user upon successful sign-up or purchase. From this area, you can also view the History of anyone who has taken advantage of this refer-a-friend.
Featured Video
Upload or use an embed code to add a featured video to your listing profile.